
Every garden has that corner. You know the one – the neglected patch that’s part compost heap, part dog toilet, part existential crisis. For months, the back corner of my garden sat there looking sad and unloved: a tangle of weeds, drooping tree branches, and a few of Odie’s “presents” hidden in the shade.

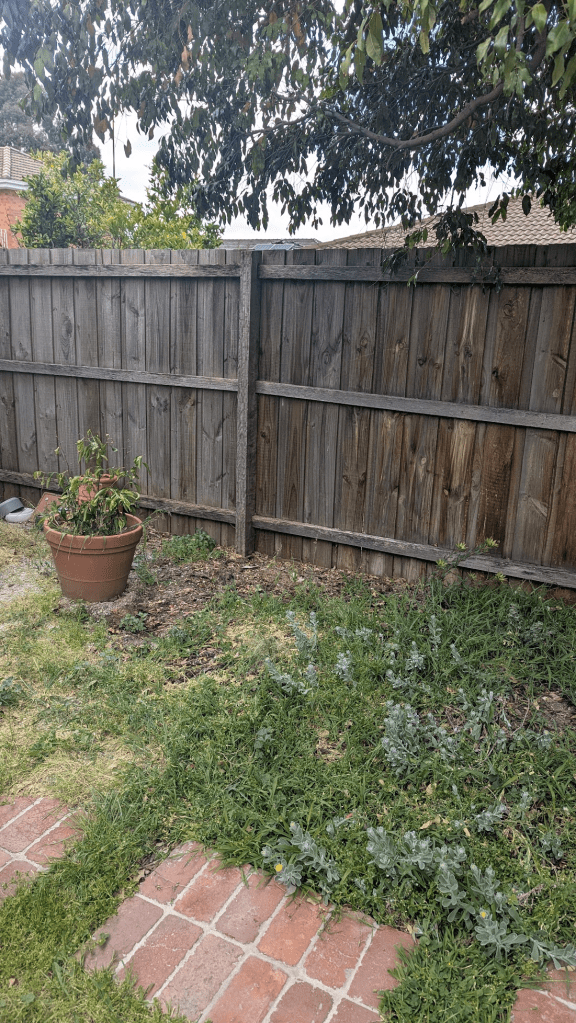
But one sunny Saturday, I decided enough was enough. That forgotten corner was going to earn its keep – it was time to turn it into a productive, beautiful veggie corner.
Step 1: Light and air (and fewer dog surprises)
The first job was pruning. The tree above had grown a mess of low-hanging branches that made the whole area feel dark and cramped, like a bad haircut over your eyes. Out came the pruning shears, and after a good session of branch-whacking, the canopy lifted and the space instantly felt brighter and more open.
Then came the less glamorous part: poop patrol. Odie had clearly been treating the area as his private restroom, so there was some careful cleanup before I could face the soil itself.
Step 2: Starting fresh
I pulled up the weeds and cleared the pebbles and stones, then used a shovel to turn over the soil. I dug down to create a shallow bed, giving the area a clean slate.
Step 3: Rejuvenating the soil
With the weeds gone and the bed cleared, it was time to bring the soil back to life. I mixed in some Seasol soil wetter and Seasol compost, turning it through with the shovel to help loosen things up and reintroduce some nutrients. The difference was instant – the soil went from dry and compacted to dark, crumbly and full of promise.
Step 4: Setting up the patch
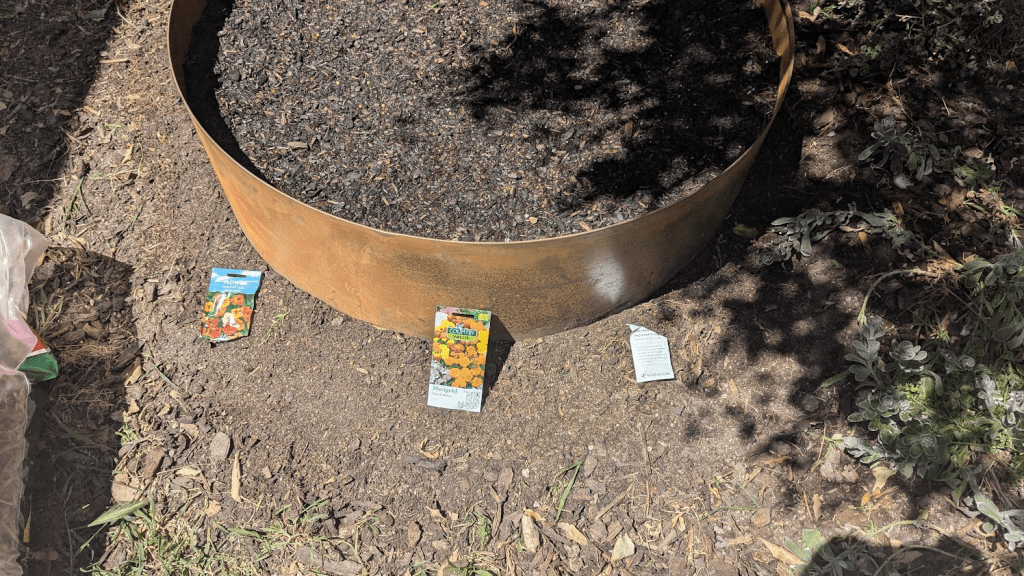
Next came the hardware. I picked up a new Jack 900mm Oxyshield Podium Landscape Ring from Bunnings (basically a stylish metal garden bed that looks like it means business) to match my existing landscape rings, and paired it with a large terracotta pot I already had lying around.

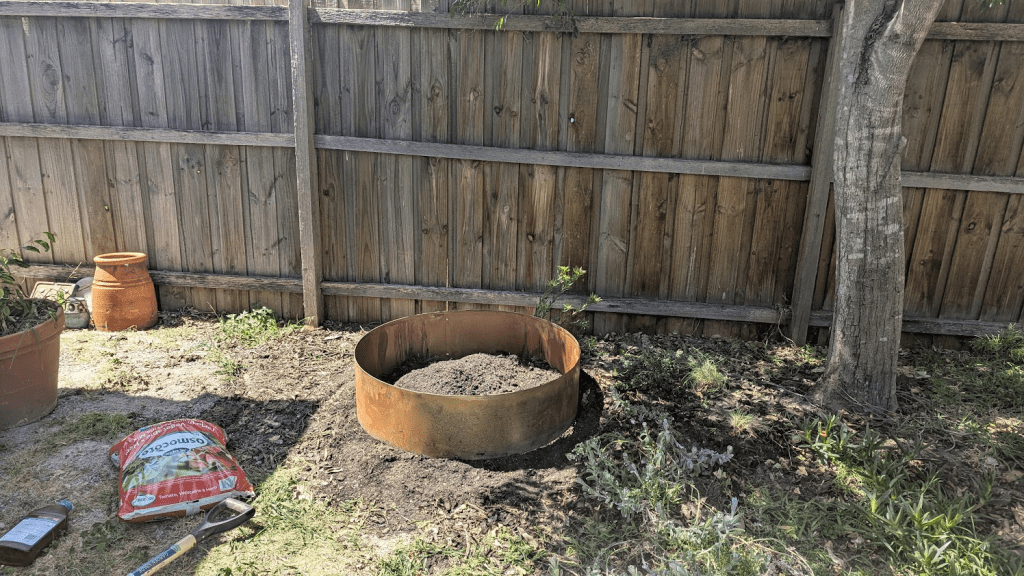
Both got nestled snugly into the new soil bed, but it took a bit of time to get them perfectly level. Picture me crouched down with a spirit level, squinting and muttering like a deranged surveyor. Eventually, I got there – and it was deeply satisfying.

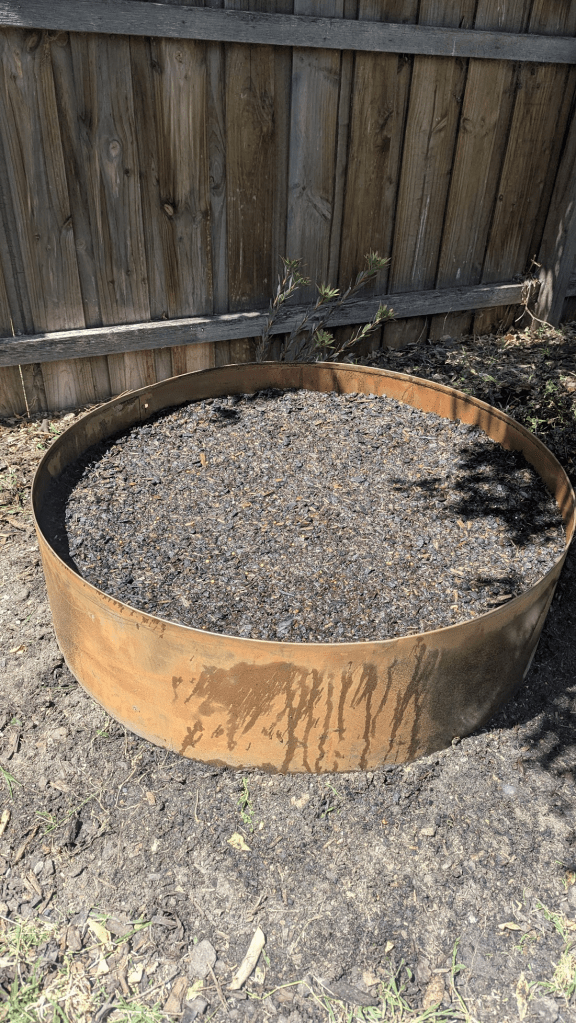
Once they were sitting level, I filled them up with my favourite Osmocote Tomato & Veg potting mix, a good dose of Seasol compost, and a sprinkle of RichGro Blood and Bone for an extra nutrient boost. The smell wasn’t glamorous, but the plants are going to love it.
(For a more detailed guide on how to start your urban patch from scratch, check out my Starter Guides here – including how to get started for less than $20!)
Step 5: Planting the dream team
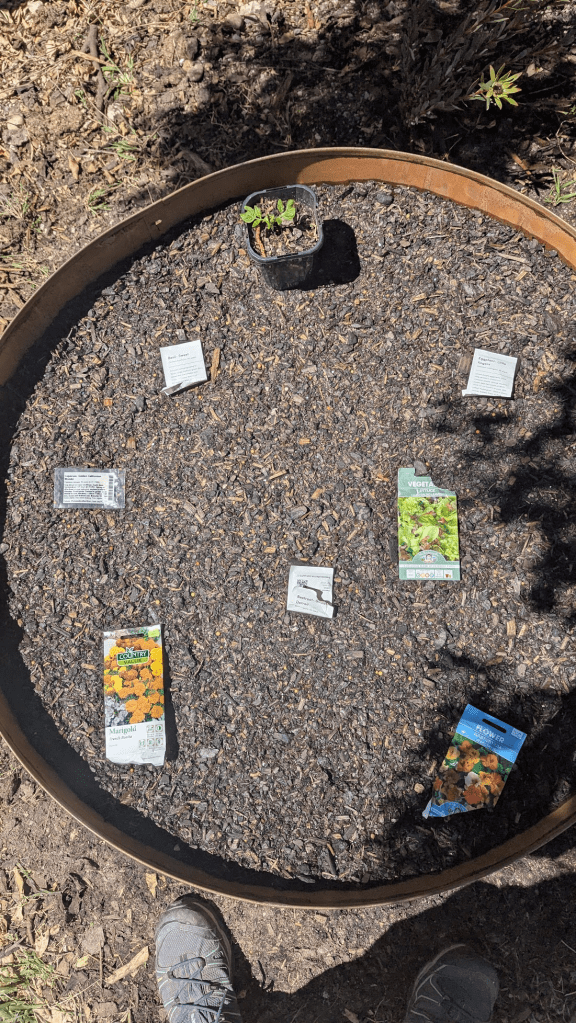
With everything in place, I planted seeds of my chosen mix of edibles and flowers, selected for the slide into summer:
- Totem tomato (this one was a seedling I’d gotten a headstart on in a separate pot)
- Basil
- Mini bell capsicum
- Little finger eggplant
- Lettuce
- And for colour and pollinator power: marigold, nasturtium and calendula
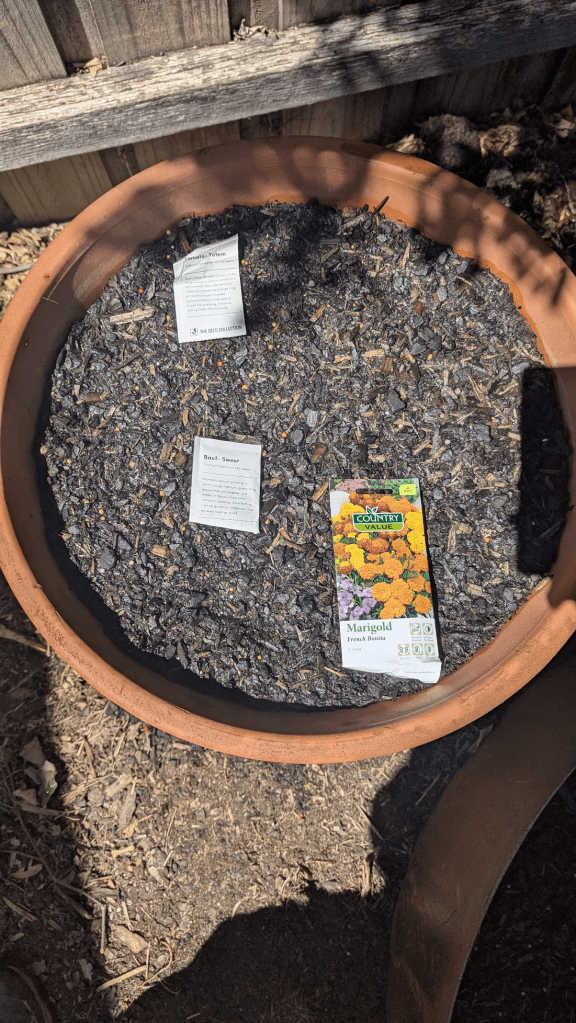
They all went in chaos-style together, soon to be a cheerful jumble of veggies, herbs and blooms that should keep the bees happy and dinners tasty.
Step 6: Beer, obviously
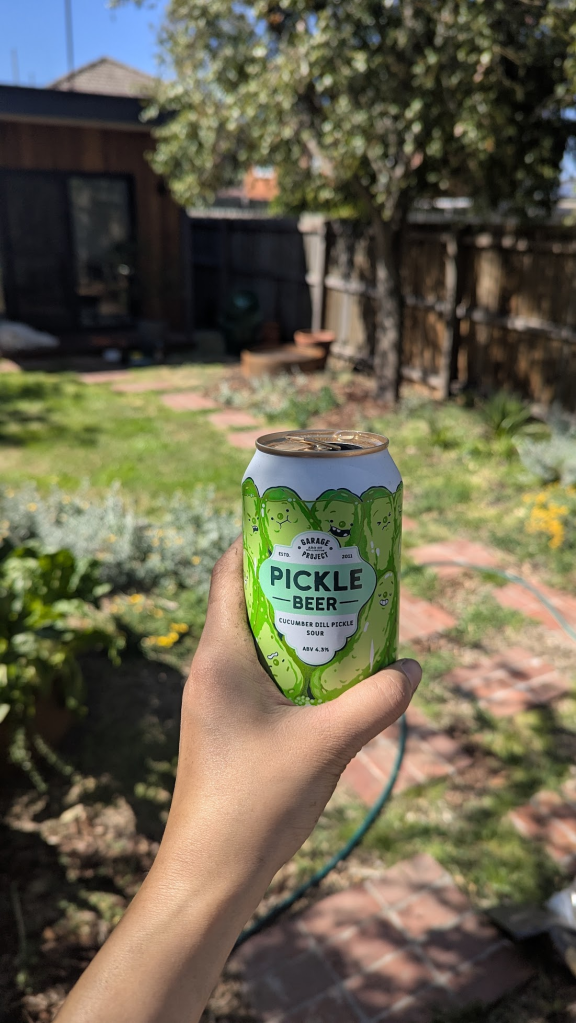
Once the last seed was tucked in and the tools were packed away, I cracked open a well-earned beer and admired the view. That scrappy, unloved corner is now one of my favourite spots in the garden – proof that with a bit of effort (and a lot of weeding), even the roughest corners can become something beautiful.
The joy of small-space reclamation
There’s something deeply satisfying about reclaiming small, forgotten spaces. It’s not just about tidying up – it’s about possibility. Turning a dead zone into a living, growing patch reminds me why I love urban gardening in the first place: the act of coaxing life out of the unlikeliest spots, and the nurturing of new starts.


Leave a comment